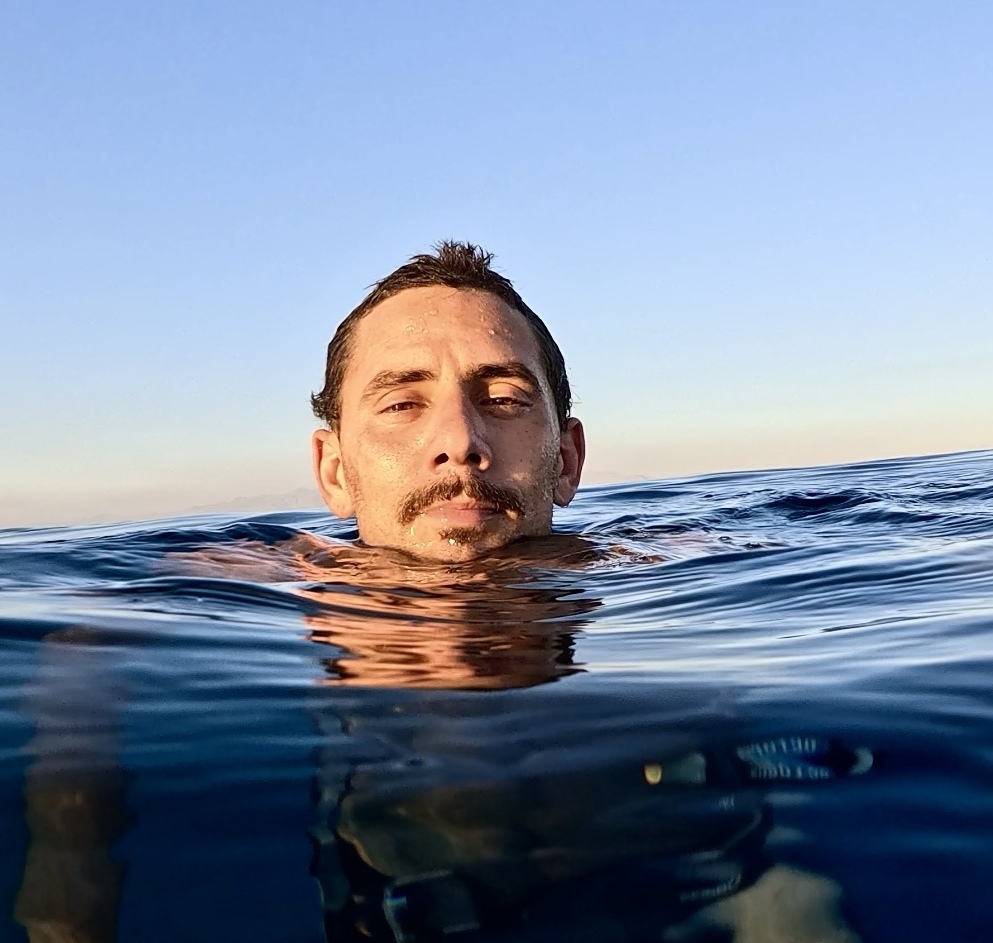
Here's the truth: you weren't even close. At the moment of that desperate urge to breathe, most people still have several minutes of usable oxygen in their system. What triggered the panic wasn't low oxygen — it was high carbon dioxide.
Understanding this distinction, and learning to train your CO2 tolerance, is the single biggest unlock in freediving.
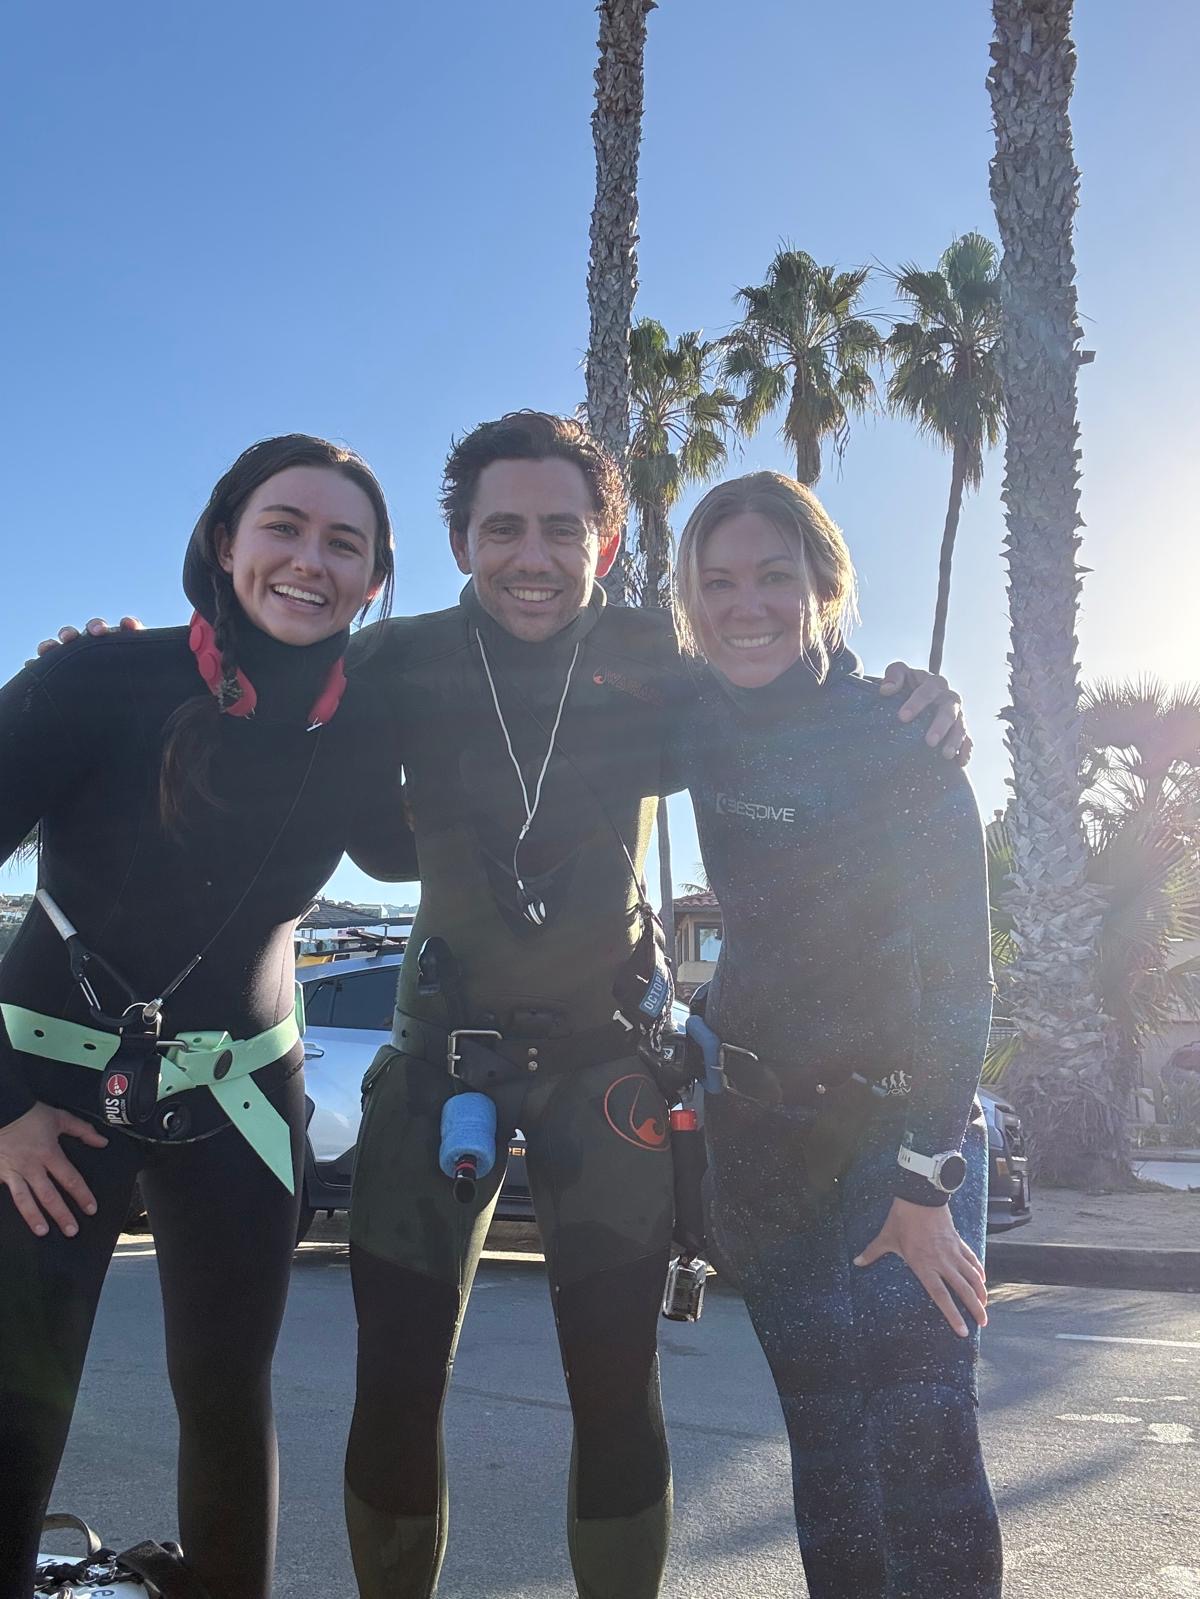
Static and dynamic training in the pool
Why CO2 Drives the Urge to Breathe
Carbon dioxide is a byproduct of cellular metabolism. Every cell in your body produces it as it burns oxygen for energy. Normally, you exhale CO2 with every breath and levels stay stable. When you hold your breath, CO2 accumulates in your blood, forming carbonic acid and lowering blood pH.
Your body has chemoreceptors — primarily in the carotid bodies at the sides of your neck and in the brainstem — that are extremely sensitive to changes in blood pH. When CO2 levels rise above a threshold, these chemoreceptors trigger the respiratory center in your brain, producing the urge to breathe. This arrives as diaphragmatic contractions — involuntary spasms of the diaphragm that are your body's way of saying "exhale this CO2 and inhale fresh oxygen."
The key insight: this threshold is not fixed. It's a trigger point that can be recalibrated through training. A person who has never trained might feel the urge to breathe at 45 seconds. An experienced freediver might not feel contractions until 3 or 4 minutes. The oxygen in their blood at both time points might be similar — the difference is how much CO2 their body has learned to tolerate before sounding the alarm.
CO2 Tolerance vs. O2 Tolerance
Freediving training addresses two separate (but related) physiological challenges. Understanding the difference is important because they require different training approaches.
CO2 tolerance is your ability to remain calm and functional as CO2 accumulates. It determines when you feel the urge to breathe and how well you can continue functioning once that urge arrives. This is what most beginners need to develop first, and it's the safer of the two to train because you're working within comfortable oxygen ranges.
O2 tolerance (more accurately, hypoxia tolerance) is your ability to function as oxygen levels decline. This is what determines your absolute maximum breath hold and the point at which you risk hypoxic blackout. O2 training is more advanced, more physiologically demanding, and carries more risk — which is why it should only be done under supervision.
For most recreational freedivers, CO2 tolerance is the limiting factor. You'll run out of comfort long before you run out of oxygen. That's actually a good thing — your CO2 alarm system is a safety mechanism. The goal isn't to disable it. It's to recalibrate it so it fires at the appropriate time rather than prematurely.
How CO2 Tables Work
A CO2 training table is a series of breath holds with progressively shorter rest intervals. The hold time stays constant (typically 50-60% of your maximum), but the recovery time between holds decreases with each round. Because you have less time to recover, CO2 doesn't fully clear between holds, and it builds up progressively throughout the session.
Here's an example for someone with a 3-minute max breath hold:
CO2 Table (hold time: 1:30, rest decreases):
Round 1: Hold 1:30, Rest 2:00
Round 2: Hold 1:30, Rest 1:45
Round 3: Hold 1:30, Rest 1:30
Round 4: Hold 1:30, Rest 1:15
Round 5: Hold 1:30, Rest 1:00
Round 6: Hold 1:30, Rest 0:45
Round 7: Hold 1:30, Rest 0:30
Round 8: Hold 1:30, Done
By the later rounds, you'll feel contractions beginning earlier in each hold. That's the training effect — your body is learning to function with elevated CO2 levels.
Compare this to an O2 table, where rest time stays constant but hold time increases. O2 tables push you toward your maximum, which means they create oxygen debt. This is more dangerous and should be approached with more caution.
The No-Contraction Approach
Classical CO2 tables work, but there's a modern refinement that many coaches now prefer: the no-contraction table. The philosophy is simple — end each hold before contractions begin.
Why? Because repeatedly pushing deep into uncomfortable contractions can create a negative association with breath-holding. Your nervous system learns that apnea equals suffering, which actually makes relaxation harder over time. The no-contraction approach builds tolerance gradually while keeping the experience positive.
Here's how it works: perform a series of breath holds, but stop each one the moment you feel the first sign of the urge to breathe — before any diaphragmatic contraction. Over time, that first-urge point pushes later and later. Your tolerance improves without the suffering.
This approach takes longer to produce results than aggressive classical tables, but the results tend to be more sustainable, and it builds a healthy, relaxed relationship with breath-holding that translates better to actual diving.
A Practical Dry Training Program
You can train CO2 tolerance without water. In fact, dry training is safer and more accessible. Here's a weekly structure:
Beginner (first 4 weeks)
Frequency: 3 sessions per week, never on consecutive days.
Session structure: 5 minutes of relaxed diaphragmatic breathing to establish baseline calm. Then 6 rounds of: hold your breath at a comfortable level (aim for about 50% of max) with 2-minute rest between holds. During rest, breathe normally — don't hyperventilate. Each session, try to decrease rest time by 5-10 seconds while keeping hold time constant.
Position: Lying down on your back or face down. Never standing — in the unlikely event of lightheadedness, you don't want to fall.
Intermediate (weeks 5-12)
Frequency: 3-4 sessions per week. Alternate between CO2 focus and relaxation focus.
CO2 session: 8 rounds using a proper CO2 table as described above. Hold at 50-60% of max. Rest decreases from 2:00 to 0:30 across the 8 rounds.
Relaxation session: 4-5 longer holds at 60-70% of max with generous rest (2:30+). Focus on staying completely relaxed. No fighting, no tension. If contractions come, observe them without reacting.
Key Principles
Never do more than one table per day. These are physiologically demanding even though you're lying still.
Don't hyperventilate during rest periods. Breathe normally. Hyperventilation blows off CO2, which defeats the purpose, and it can dangerously lower your CO2 warning system before your next hold.
Never train O2 tables alone. CO2 tables at 50-60% of max are safe to do solo (dry, lying down). O2 tables that push toward your maximum should only be done with a buddy present.
Stop if you feel lightheaded, see stars, or feel tingling in your extremities. These are signs of hypoxia, not CO2 buildup, and they mean you've pushed too far.
What to Expect
In the first two weeks, you'll notice that your initial discomfort with breath-holding decreases. The urge to breathe will still come, but it won't feel as urgent. By week four, you should see measurable improvement in your static hold time — often 30-60 seconds longer than when you started.
The real change is psychological. You'll develop a different relationship with the urge to breathe. Instead of panic, it becomes information. That shift — from reactive fear to calm awareness — is what separates a beginner from a freediver.
And that's what we mean when we say training starts from the inside out.